SpyWarrior has been designed with simplicity in mind to make it easier for users to use it. As soon as SpyWarrior finishes installing, you can start using it.
- Launching a scan
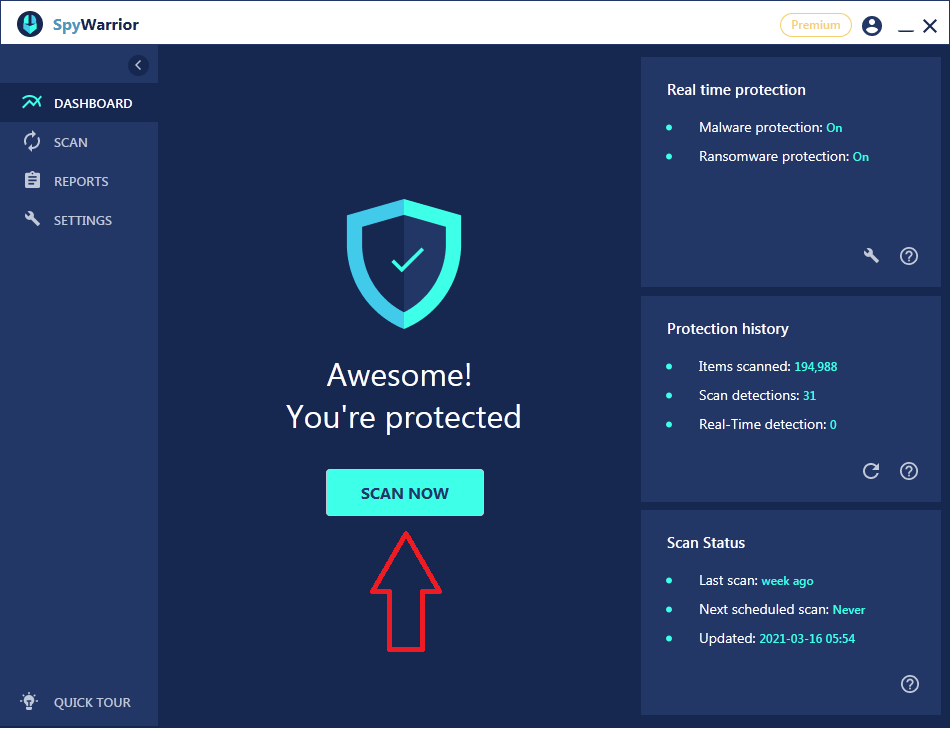
You can launch a scan directly from the Dashboard by clicking “Scan Now”. In the Dashboard, you will also find information about your previous scans.
In the Scan section of the program, you can select what kind of scan you want to perform. If you click “Start Regular Scan”, the program will scan all locations that malware is usually found in.
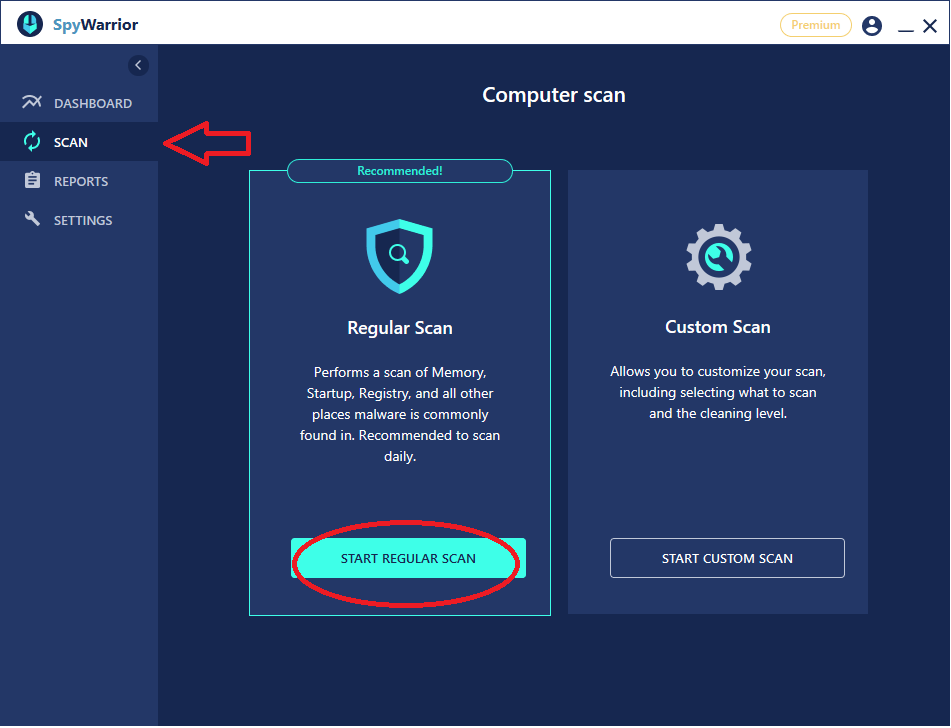
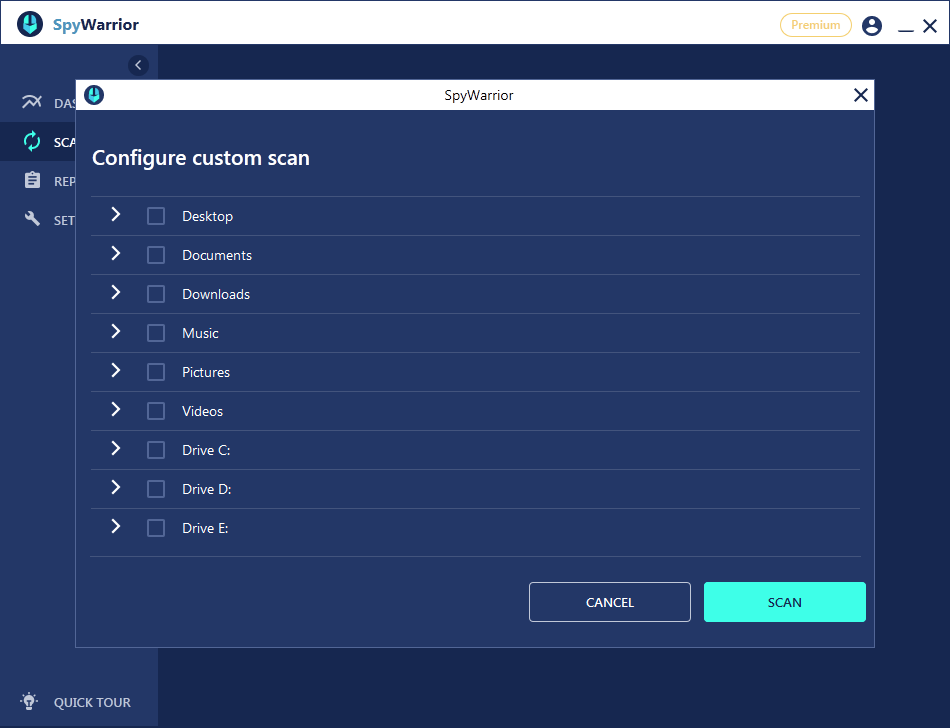
If there is a particular location you wish to scan, click “Start Custom Scan” and check what you want the program to scan. When you check the boxes you want, click “Scan”.
- Checking detected malware
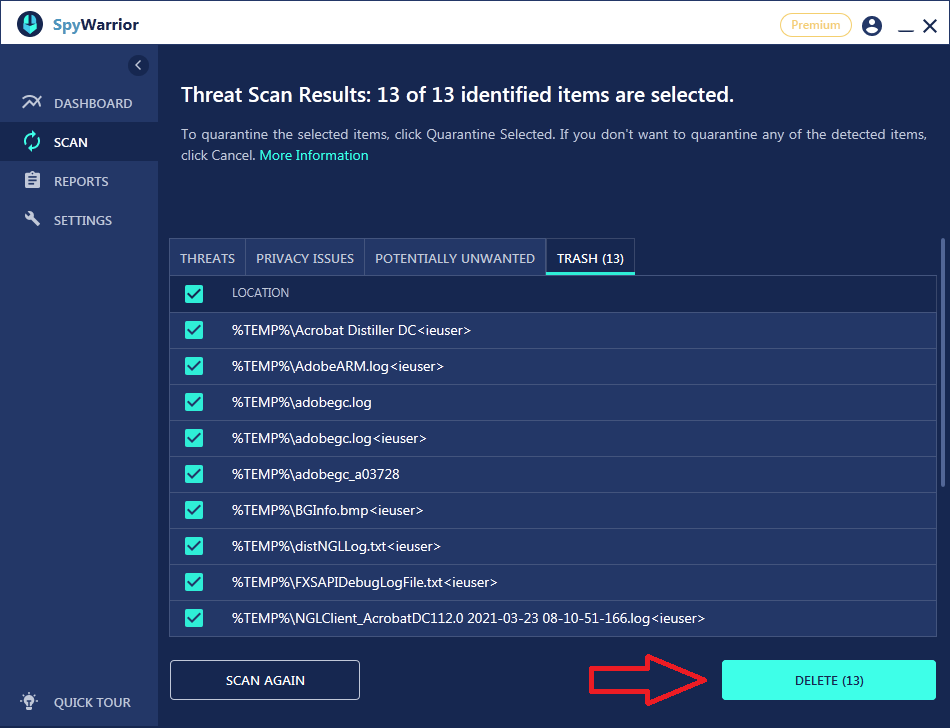
Once a scan finishes, if threats are found on your computer, you will be shown a list. Select the detected issues you wish to remove and click “Delete”.
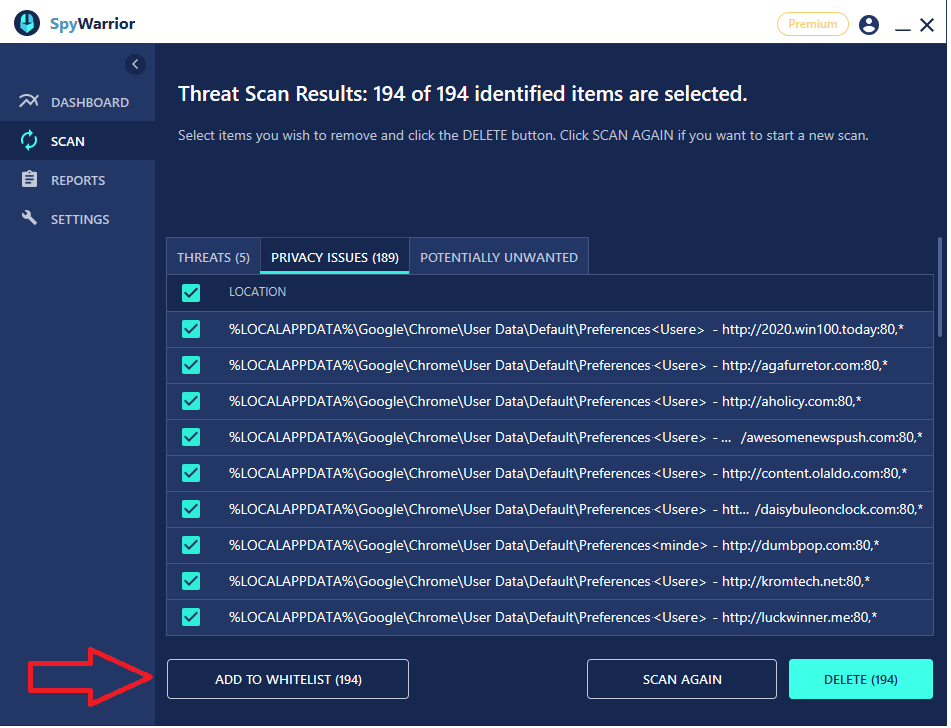
If you find a program/file you use among those detected as potential issues, check the item and click “Add to Whitelist”. This will prevent SpyWarrior from detecting the same program/file over and over again.
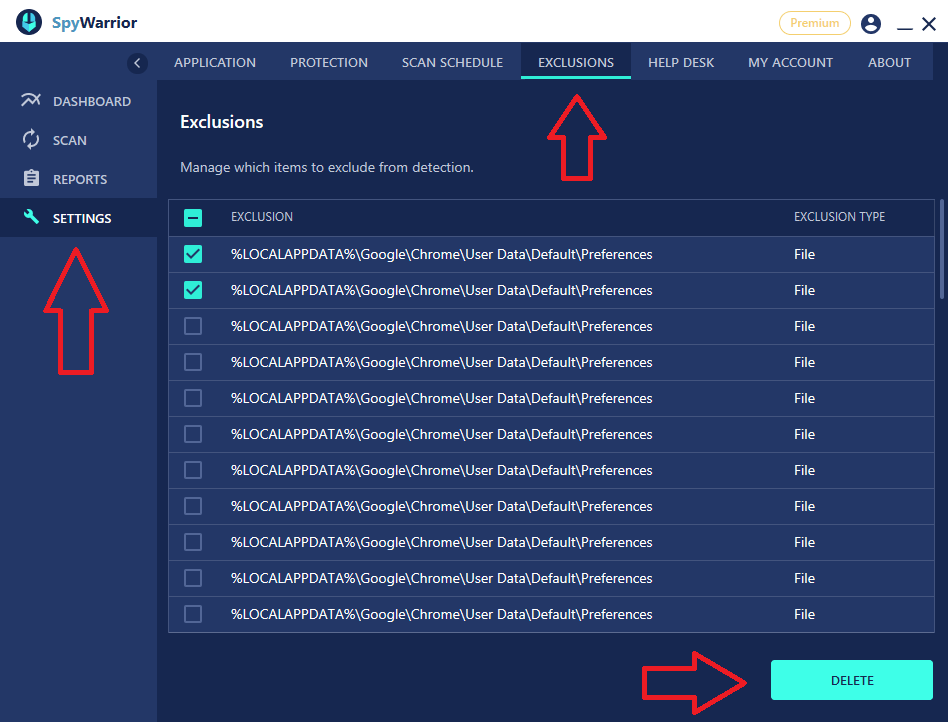
You can manage which files/programs are to be excluded from detection by going to Settings → Exclusions. To delete an item from the whitelist, select it and click “Delete”.
- Changing settings
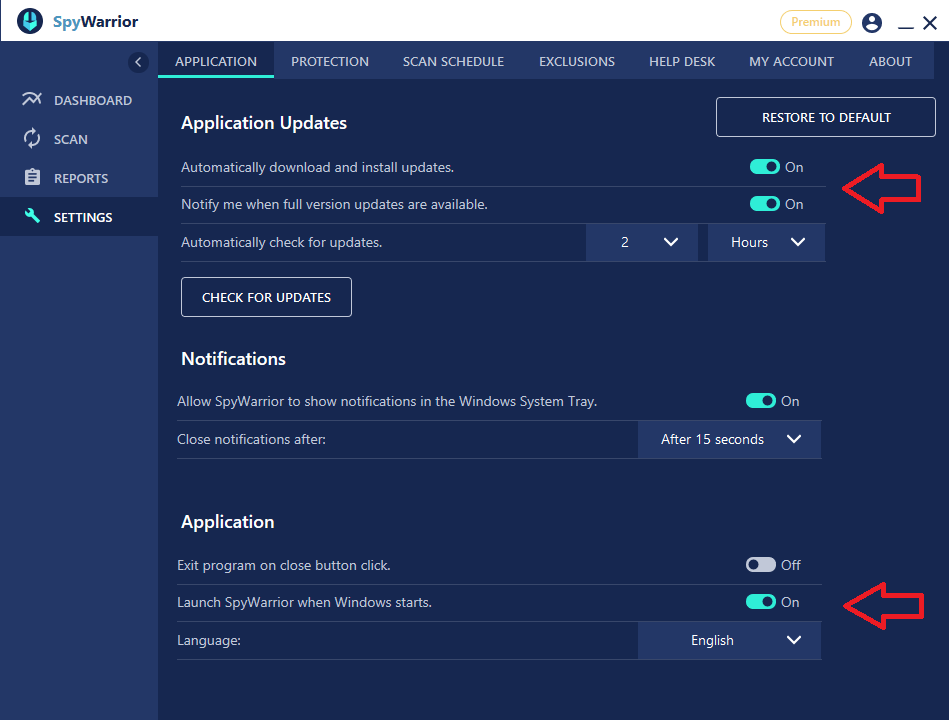
In Settings → Application, you can change certain settings. We recommend that you keep automatic updates, as well as notifications, turned on so that SpyWarrior is always up to date, can detect new threats, and notify you about detected issues or updates.
We also recommend that you keep the “Launch SpyWarrior when Windows starts” feature turned on.
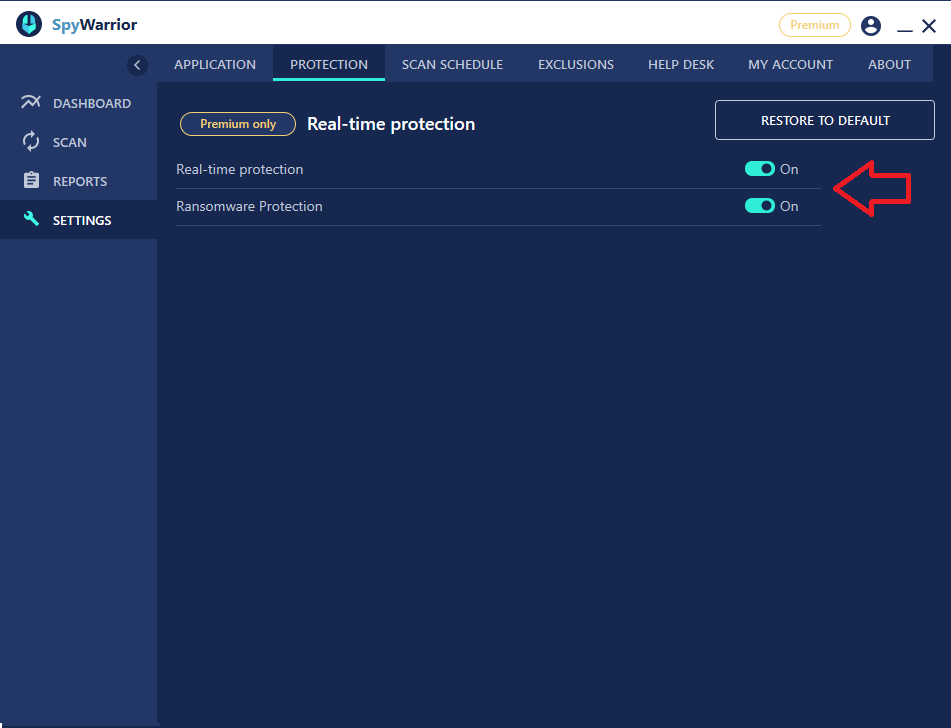
In Settings → Protection, you can turn on/off real-time and ransomware protection. We recommend that you keep these features turned on.
- Setting up a scan schedule
In Settings → Scan Schedule, you can set up a scan schedule so that you would not need to manually launch scans. To set up a scan schedule, click “Add”.
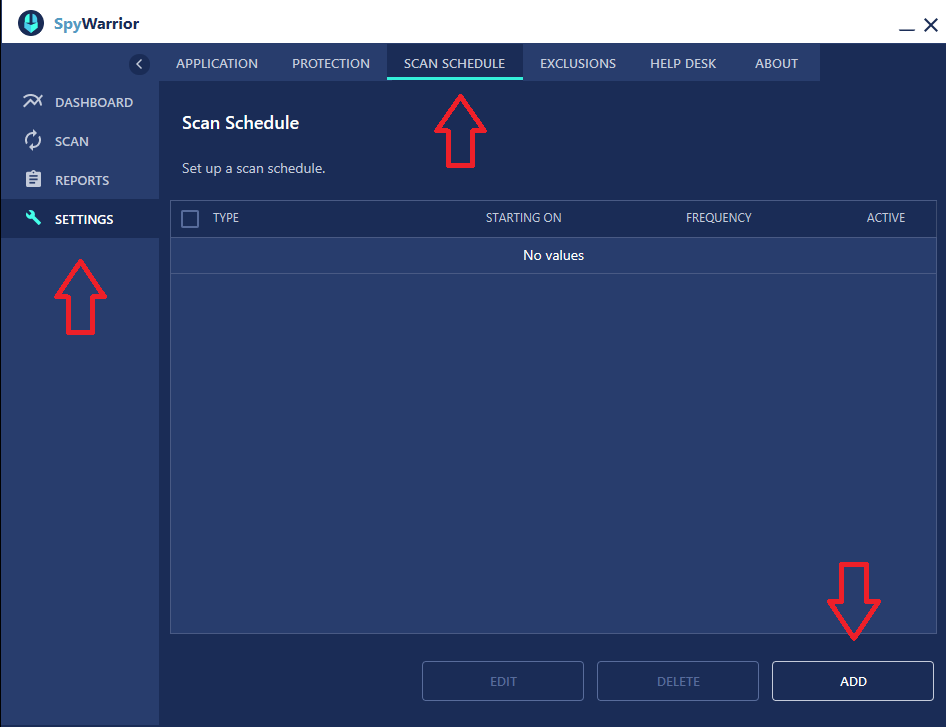
Select the scan type, frequency, date, and time. Click “Save”. Scheduled scans will begin starting with the date you have set. You can edit/delete schedules however you wish by checking an entry and clicking “Edit” or “Delete”.
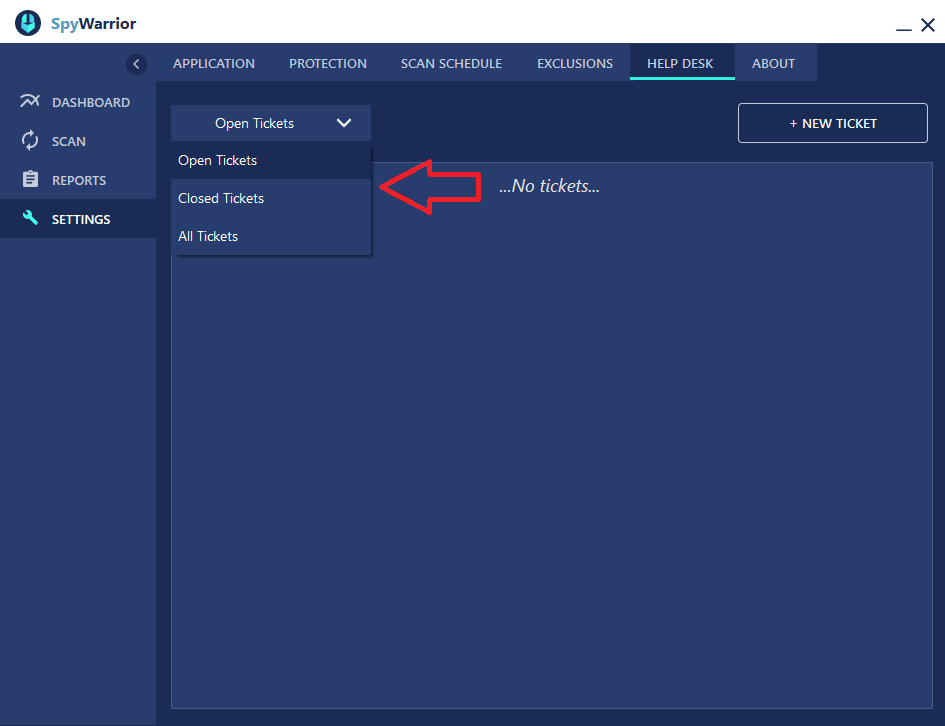
- Contacting technical support
If you wish to contact technical support, go to Settings → Help Desk.
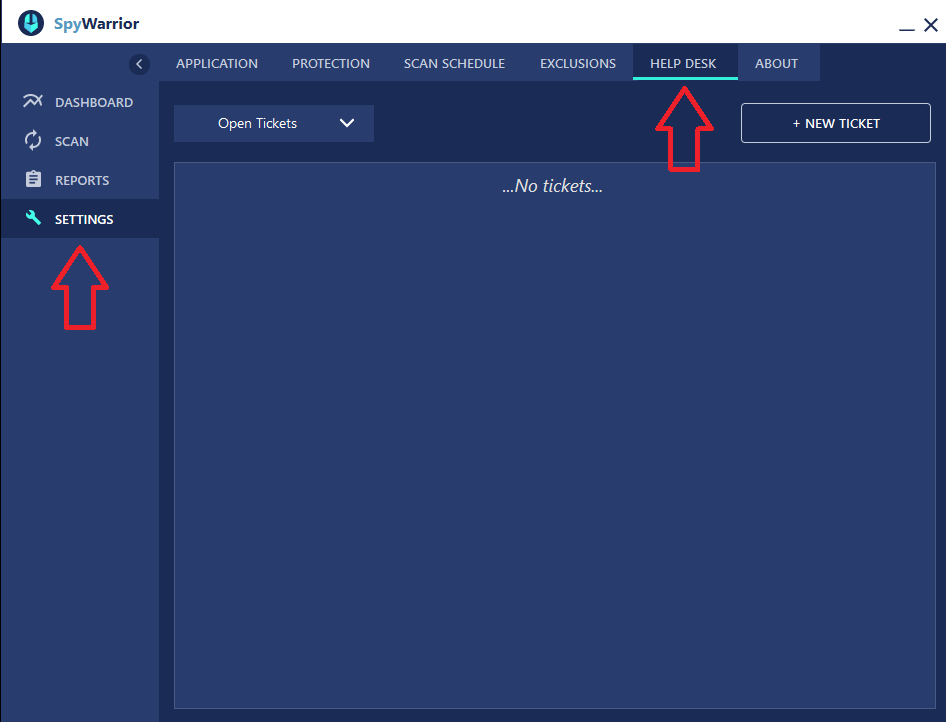
Click “New Ticket” and fill in your information. Make sure to accurately select the problem type and provide a detailed explanation for the issue for which you are contacting technical support.
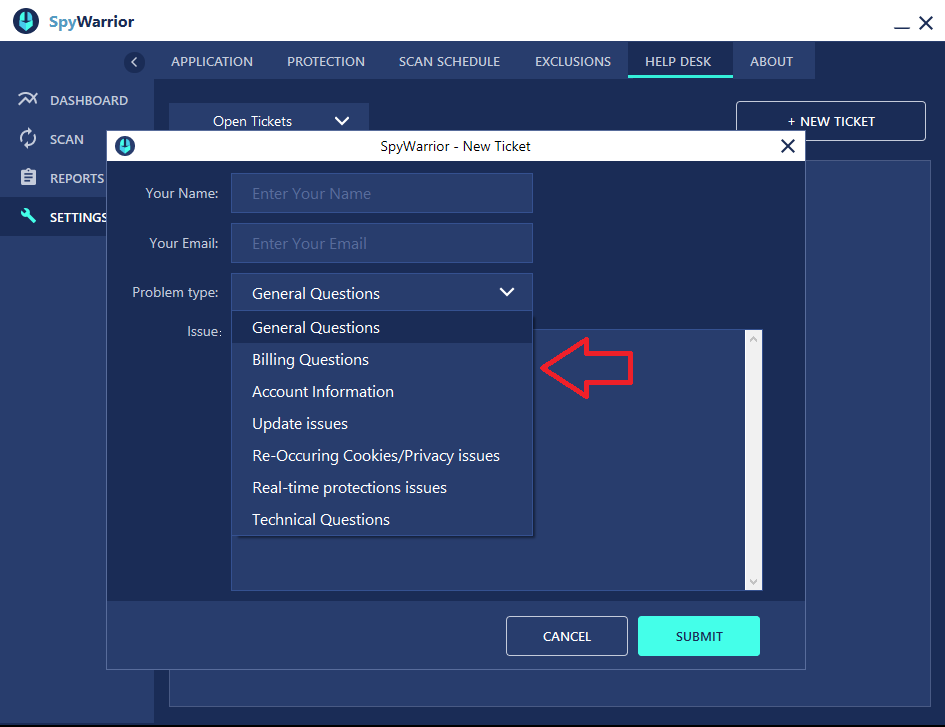
Once you have filled in all the information, click “Submit”. Our technical support will contact you as soon as possible.
Remember, the more details you provide to our technical support, the quicker they can accurately come up with a solution for you.
You can also review all open and closed tickets.